


A Complete Guide to Brow Mapping for Brow Lamination
One of the most important, but often overlooked steps of a brow lamination treatment is the art of brow mapping, a meticulous technique that shapes the ultimate look of the brows. Every Brow Technician should know that brow mapping is essential for achieving perfect symmetry and enhancing the natural beauty of the face. In this guide, we will delve into why brow mapping is crucial for brow lamination and how to master it using InLei®'s innovative brow mapping thread.

The Importance of Brow Mapping
Brow mapping is the blueprint of brow lamination. It is a preliminary and critical step that ensures each brow's shape, size, and position are perfectly aligned with the client's facial features, as well as creating a guide for the hair removal process and also as importantly, following the desired outcome of your client’s dream brow shape. This precision is crucial because even the slightest asymmetry can be noticeable and detract from the overall appearance. Brow mapping sets the foundation for the following:
Symmetry and Balance: It helps achieve a balanced look that is symmetrical and harmonious with the entire face.

How to Perform Brow Mapping Using InLei® Brow Mapping Thread
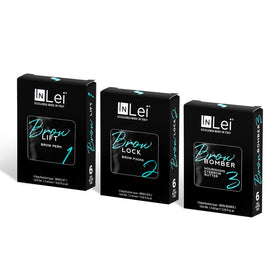
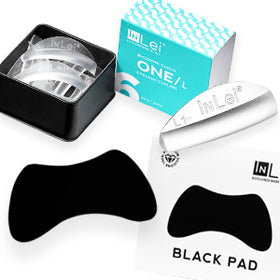
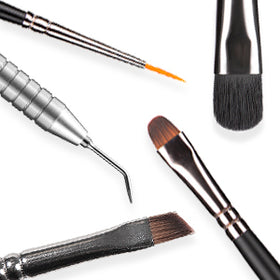
InLei®'s brow mapping thread is specifically designed to assist Brow Technicians in achieving precise and accurate brow layouts. Here’s a step-by-step guide to using this tool effectively:
Step 1: Prepare the Area
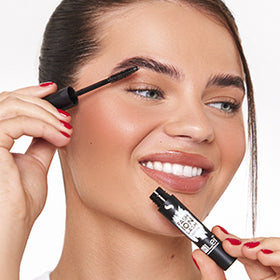
Begin by cleansing the brow area to remove oils and makeup by using the InLei® Delicate Brow Shampoo, ensuring the skin is dry and clean. This preparation is crucial for the mapping marks to adhere correctly.
Step 2: Find the Key Points
Use the InLei® Brow Mapping Thread to measure and mark the three key points of the brow:
The Start: Align the thread vertically by the side of the nose. This point determines where the brow should begin.
The Arch: The highest point of the brow should line up with the outer edge of the pupil. Adjust the thread to find this pivotal area, which will define the peak of the arch.
The End: Angle the thread from the nostril through the outer corner of the eye. This point marks where the brow should naturally end.
Step 3: Connect the Dots
Stretch the thread between these points to create a soft, linear guideline along the brows. These lines will form the top and bottom borders of the brows, helping you visualise the shape and thickness that will best suit the client’s face.
Step 4: Adjust and Refine
With the basic outline in place, make any necessary adjustments to customise the shape. This step may involve refining the arch or extending the tails slightly to better frame the face.
Step 5: Proceed with Lamination
With the map as your guide, apply the brow lamination solutions and brow tint within the boundaries, and remove any hair outside of the boundaries using the InLei® Gentle Brow Wax. The precision of the map ensures that each hair aligns perfectly, enhancing the overall effect of fuller, more defined brows.

Brow mapping is an art form that requires precision, patience, and the right tools. By using InLei®'s brow mapping thread, technicians can achieve flawless, symmetrical brows that are tailored to each client's facial structure. This guide not only educates brow technicians on the importance of this technique but also empowers them to elevate their craft with InLei®'s specialised products.