


A Step-by-Step to Lash Lifts: The Lash Filler Way
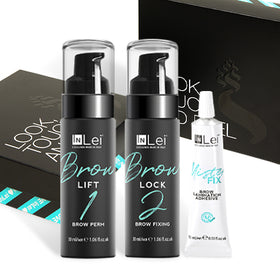
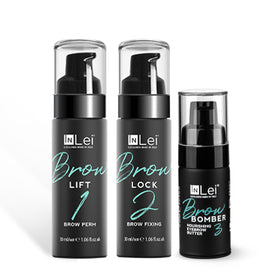
Lash enhancement treatments have become a staple for those seeking to elevate their natural allure, and natural eyelash enhancements have become a frontrunner! This is known by various names such as lash botox, lash lamination, and, notably, Lash Filler. This innovative treatment transcends the basic lash lift by not only redefining the lashes to appear longer, thicker, and more curled but also by offering tangible benefits to the health and strength of the lashes themselves.

Unique to Lash Filler, a study conducted by a renowned University Institute in Italy has demonstrated its ability to not only enhance the curl of natural lashes between sessions but also to significantly increase their thickness by up to 24% after three treatments. So, let’s look at the process of achieving the perfect Lash Filler treatment, ensuring every step contributes to the ultimate goal of breathtakingly beautiful lashes.
Step 1: Preparation
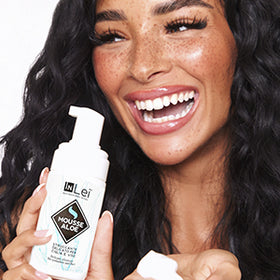
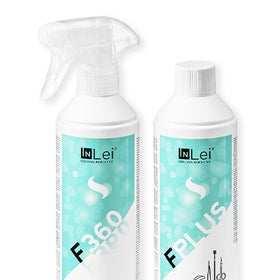
The journey to luscious lashes begins with thorough preparation. It's imperative to start with clean skin and lashes, free from makeup, skincare products, and natural oils that could hinder the effectiveness of the Lash Filler products. Employ a Gentle Lash Shampoo, working it into the lashes and skin, then rinse with cool water or a damp cotton pad and pat dry to ensure a pristine canvas for the treatment.
Step 2: Applying Eyepatches and Shields
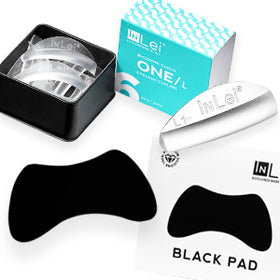
Next, we should always protect the lower lashes with eyepatches, a precautionary step to prevent any accidental application of products.
Similarly, the choice of lash lift shields is crucial; they must be appropriately sized to ensure the lashes achieve the desired lift without any unwanted kinks or insufficient curls. For those uncertain about selecting the perfect shield, InLei® offers Forma Shields, a versatile option designed to fit a broad range of lash lengths and shapes. You can also take a look at this blog to understand the differences between all of our different lash shields and make an informed decision on what you want to have in your lash lift kit.

Step 3: Lifting the Lashes
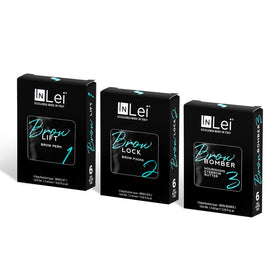
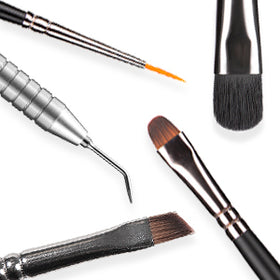
With the shields in place, you can begin the process of lifting the lashes using Fixing Gel or Lamica Gel. This step requires precision, lifting lashes section by section to prevent the Fixing Gel from drying prematurely. Utilise the Fillering Tool and an InLei® Helper Tool to meticulously position and separate the lashes on the shield, ensuring each lash is perfectly aligned for the best results.
Step 4: Form 1 Application
The application of Form 1 initiates the transformation, its alkaline pH opening the hair cuticles to penetrate and break down the disulfide bonds. This preparation allows for the reformation of these bonds later in the process. Apply Form 1 carefully to the middle of the lashes, using a fine brush like the InLei® Leonardo Brush, avoiding the roots and tips, with the duration of application varying between 6 and 12 minutes based on the thickness and condition of the lashes to ensure optimal lifting without over processing. Once processed, remove the solution with a dry cotton pad.

Step 5: Fix 2 Application
Following Form 1, Fix 2 is applied while the hair cuticles remain open, facilitating the reformation of the disulfide bonds into their new, lifted shape. Fix 2 also begins the process of closing the hair cuticles, ensuring the lashes retain their new form. The timing for Fix 2 is crucial and should be precisely managed to achieve the desired effect. The processing time should be half the time that you chose for Form 1, plus one minute. Again, once your timer goes off, you can remove the product with a dry cotton pad.
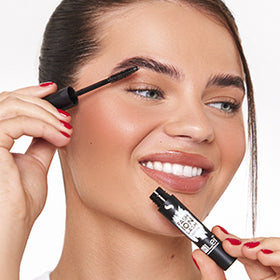
Step 6: Tinting
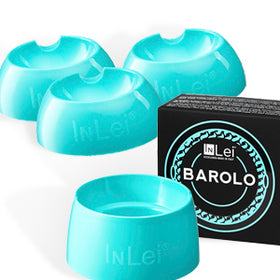
Tinting the lashes is an optional but often preferred step that can enhance the visual impact of the lift, especially for clients with lighter lashes. The choice of tint and the duration of its application should be tailored to the client's preferences and the desired intensity of the colour. The Lash Tint should be mixed with the Cream Developer at a 1:1 ratio and left to process for 6-12 minutes, depending on the hair thickness, before removing it with a cotton pad. Remember to mix the tint solution in an InLei® mixing bowl made from plastic material, it will not interfere with the chemicals and cause any oxidisation or discolouring, which a metal mixing container may do.
Step 7: Filler 3 Application
Filler 3 serves a dual purpose: it facilitates the removal of the lashes from the Fixing Gel and deeply nourishes the lashes. This step not only concludes the chemical process of the lash lift but also ensures the lashes are left conditioned and healthy and are not brittle following the treatment.

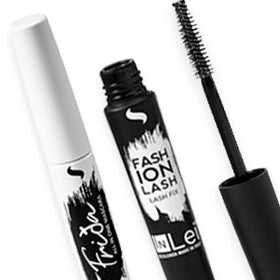
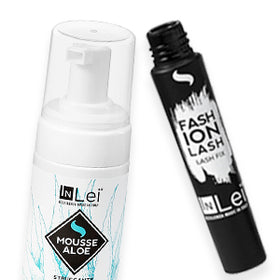
Step 8: Finishing Touches
The final steps involve removing shields and any residual products with a brush, then fluffing and separating the lashes for a polished look. This is the moment to admire the transformative results and capture the beauty of the lifted lashes for promotional purposes. This can be especially effective when put side by side with a before picture. As your shields are reusable, make sure you clean, sanitise, and disinfect each shield after use so that it’s ready for your next client.
With results lasting up to six weeks, clients are advised to avoid certain activities, such as getting the lashes wet post-treatment to maintain their stunning new look, and use specific products such as using a Lash Serum and Lash Conditioner that help with the longevity of their results. Have a read of this blog for all of our lash lift aftercare tips. Now you know exactly how to achieve the perfect lash lift, so what are you waiting for?! Shop the entire Lash Filler range here.